1# Install the theme
This is the easiest way to install your theme. With the one-click installation tool, you can install a theme in a few clicks, without having to spend a whole lot of time setting everything up. Lets get right to it!
- Inside your theme's package, open the Farm Solution folder;
- Click twice on the Setup.exe file to open the one-click installer;
-
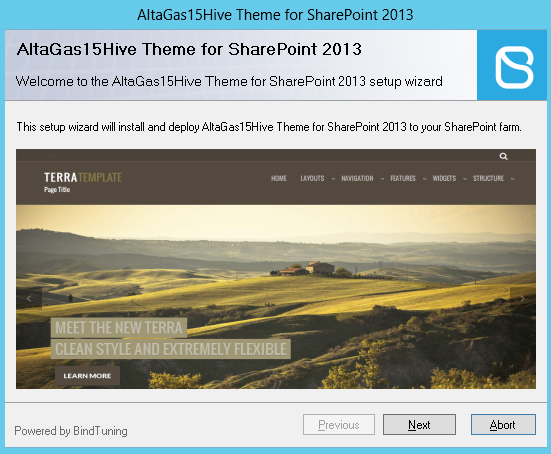
With the one-click tool open, click Next;
The installer will now check if all the requeriments are met and if the theme can be installed. If any of the requirements fail, click Abort, fix the failed requirements and re-run the one-click installer. Once is done you will see a success message;
-
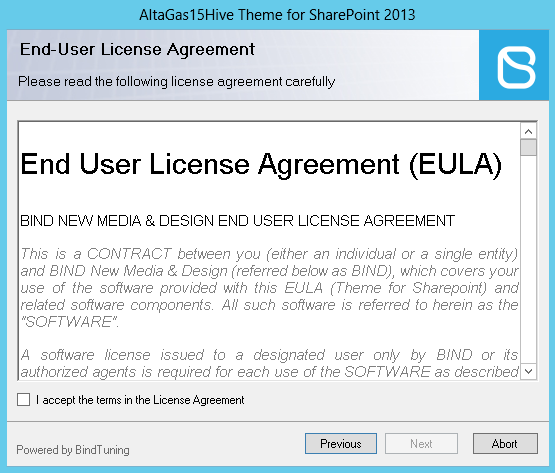
Next, you will see our licensing aggreement. Go through all the details on the license;
-
When you're done check "Accept the licensing terms and conditions" and click Next;
- Your theme is now being installed! 🕐
After the installation, click Close to close the One-click Installer. You can also click Next to check the log.
CHECK IF THE THEME WAS INSTALLED
Before moving on to activating the theme, lets confirm if the theme was successfully installed.
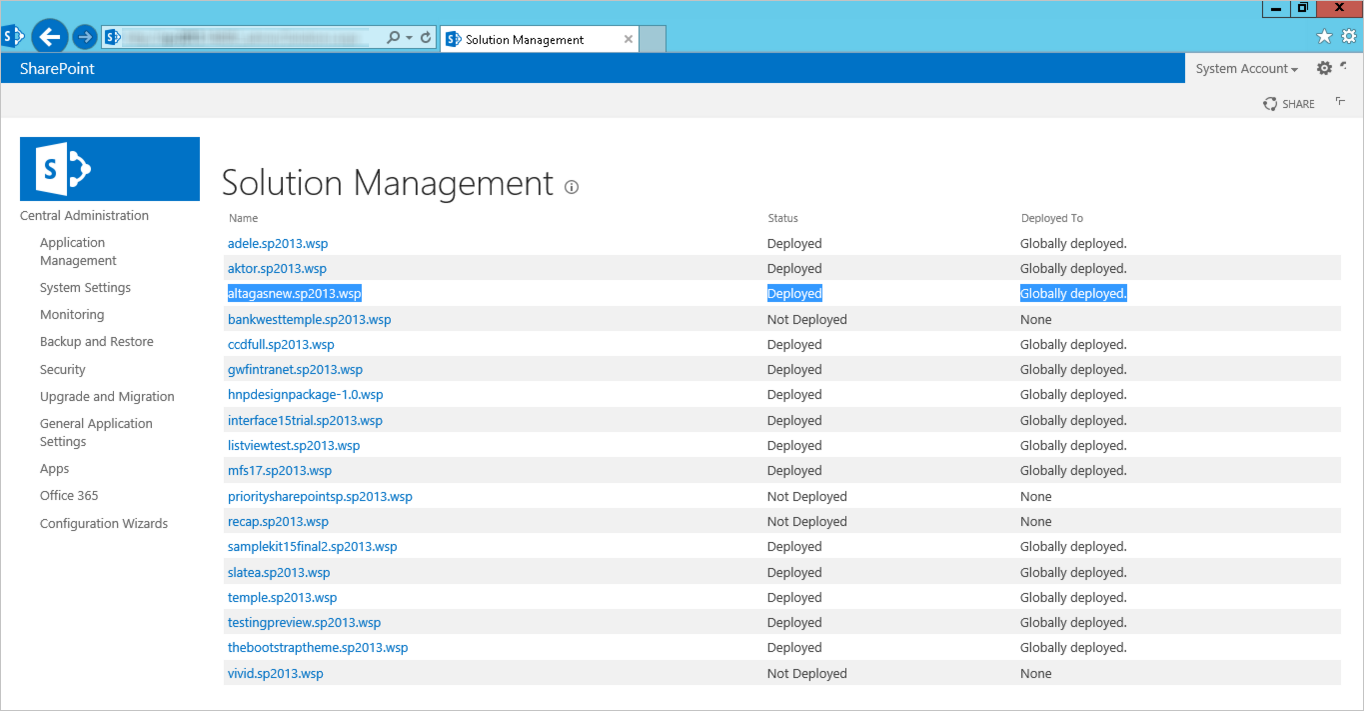
- Access your SharePoint Central Administration.
-
Click on System Settings and open Manage Farm Solutions.
You can also enter your Solutions Management with this path: http://[central_administration_url]/_admin/Solutions.aspx
If the theme was successfully installed, you should be able to see Deployed and Globally Deployed in each Status and Deployed to column.
Theme installed! ✅
2# Activate the theme
- Click on the gear icon, to open the settings menu, and click on Site Settings;
- Under Site Actions, click on Manage Site Features;
- Select your theme and click on Activate.
Theme activated! ✅
3# Set the master page
Final step is to change your current master page to one of the theme's master page.
ACTIVATE SHAREPOINT PUBLISHING FEATURES
In order to change your website master page you need to first activate the SharePoint Publishing features.
To activate SharePoint publishing Features you will have to be an Admin or have granted permissions from your Admin.
- Open the settings menu and click on Site settings;
-
Under Site Actions, click on Manage site features;

-
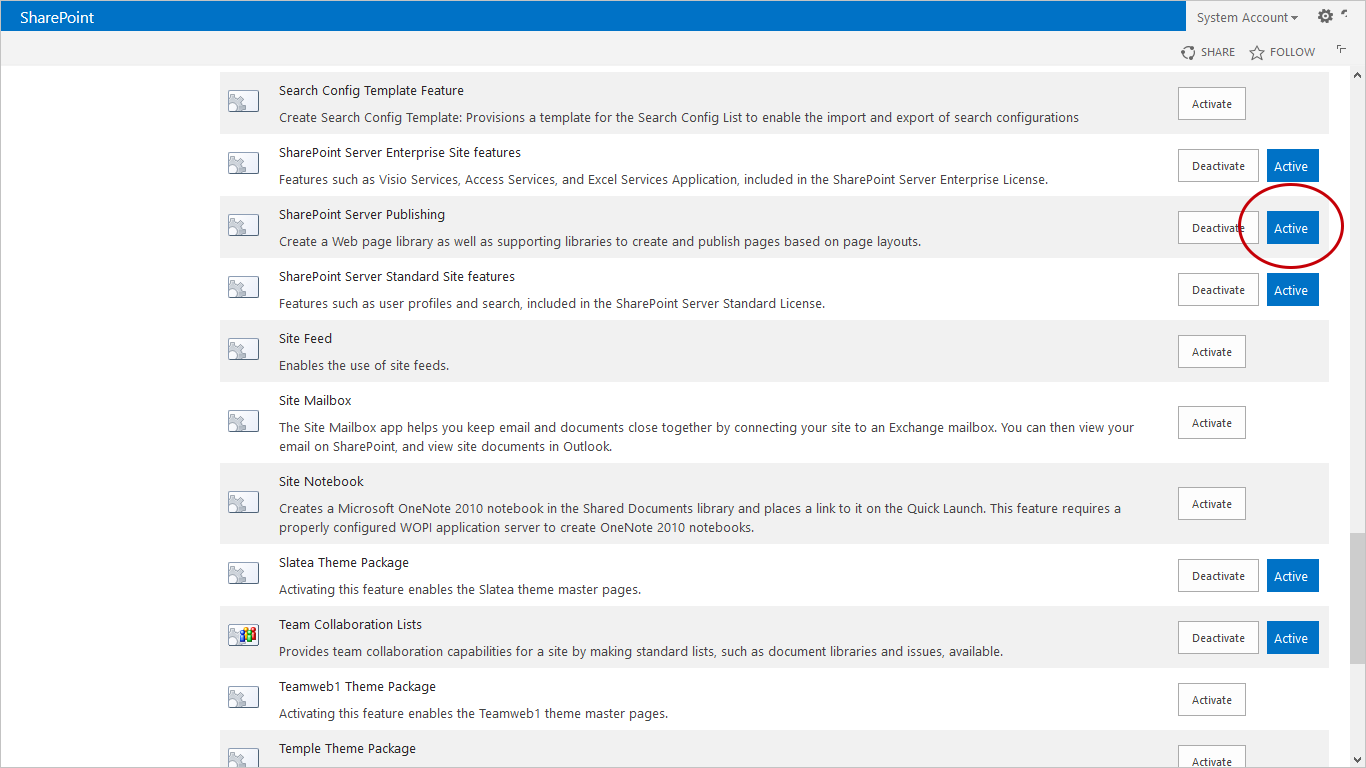
Search for **SharePoint Server Publishing and click on *Activate;
-
SharePoint Publishing features are now activated.
SETTING THE MASTER PAGE
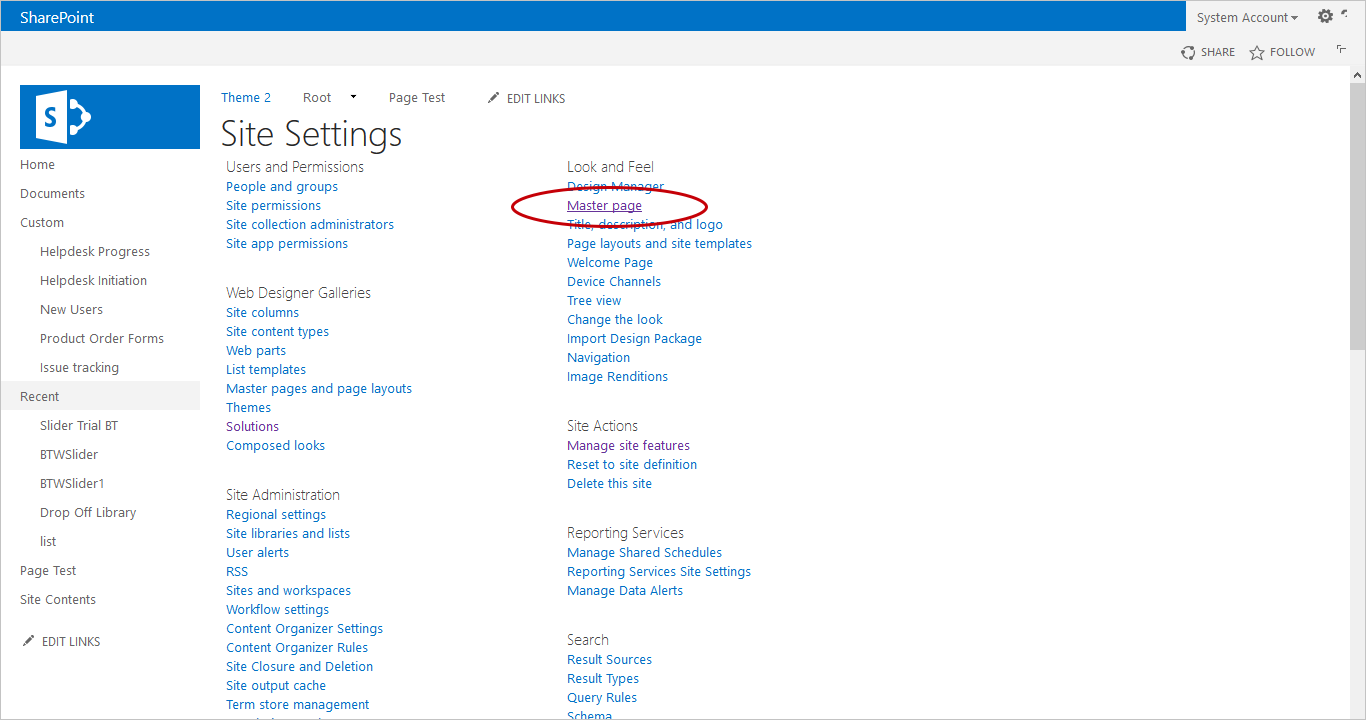
- Open the Settings menu and click on Site Settings;
-
Under Look and Feel, click on Master page.
-
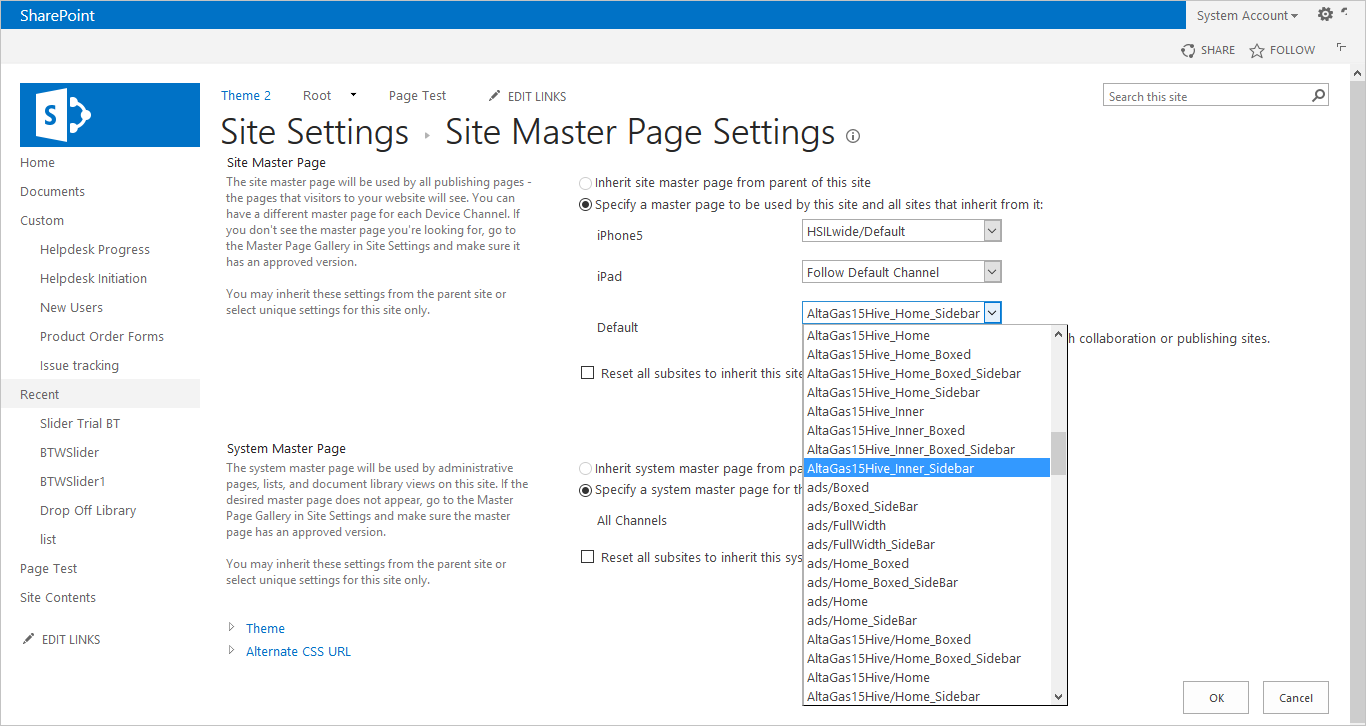
Choose the master page you want to apply.
BindTuning master pages have the following terminology: yourthemename_nameofthemasterpage.
Master Page set! ✅
Installation done! On to the next chapter where we walk you through setting uploading BindTuning demo content.
Next - Upload the Demo Content